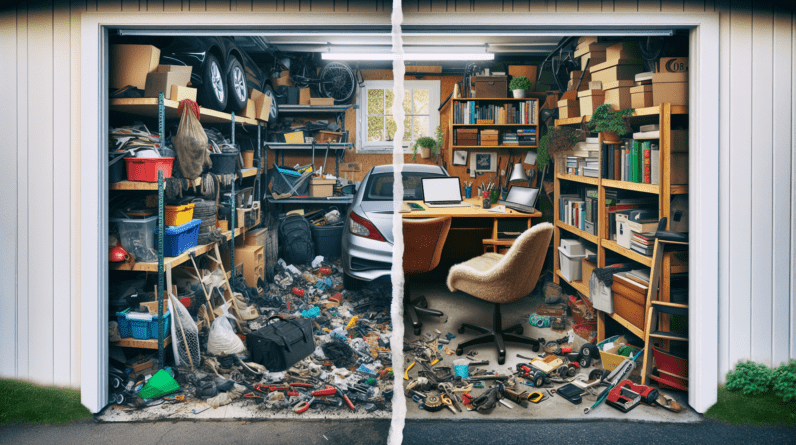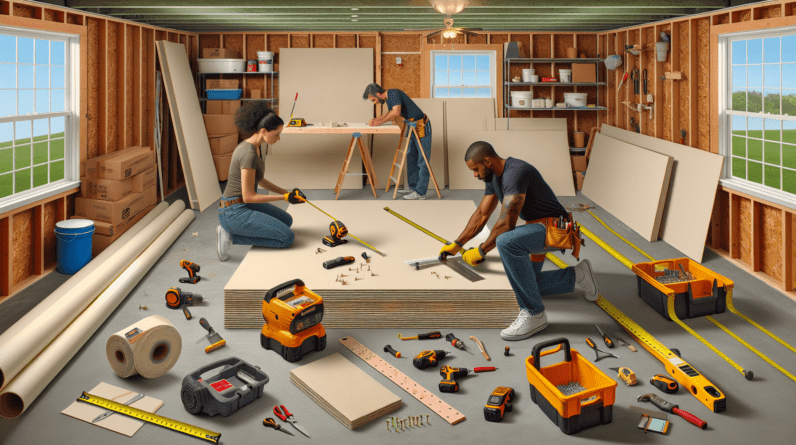
So, you’ve decided to convert your garage into a more functional space, and now you’re wondering how to install drywall to give it that finished look. Well, fear not! In this article, we will guide you through the process of installing drywall in a converted garage. Whether you’re a seasoned DIY enthusiast or a complete novice, this step-by-step guide will equip you with the knowledge and confidence to tackle this project successfully. So, grab your tools and let’s get started!
Preparing the Garage
When it comes to installing drywall in a converted garage, proper preparation is key. The first step is to clear the space of any clutter or obstacles that might hinder the installation process. Make sure to remove any furniture, tools, or other items from the garage to create a clean and open working area.
Next, it’s important to check for moisture in the garage. This is especially crucial if the garage was not originally designed to be a living space. Look for signs of water damage or dampness on the walls and floor. Moisture can compromise the integrity of the drywall, so it’s essential to address any issues before proceeding with the installation.
Inspecting the walls is another important task before installing drywall. Look for any cracks, holes, or other damage that needs to be repaired. It’s important to have a smooth and even surface for the drywall to adhere to.
Sealing cracks and holes is the final step in preparing the garage for drywall installation. Use a high-quality sealant or joint compound to fill in any gaps or openings in the walls. This will help create a solid and secure foundation for the drywall.
Measuring and Planning
Accurate measurements are essential when it comes to installing drywall in a converted garage. Before purchasing the drywall sheets, take precise measurements of the walls and ceilings to determine the amount of material needed.
To calculate the number of drywall sheets needed, divide the total square footage of the walls and ceilings by the square footage of each sheet. This will help you determine how many sheets to purchase.
In addition to measuring the dimensions, it’s also important to determine the size of the sheetrock. The most common sizes are 4×8 feet and 4×12 feet. Consider the layout of the garage and choose the size that will allow for the most efficient installation.
Gathering Tools and Materials
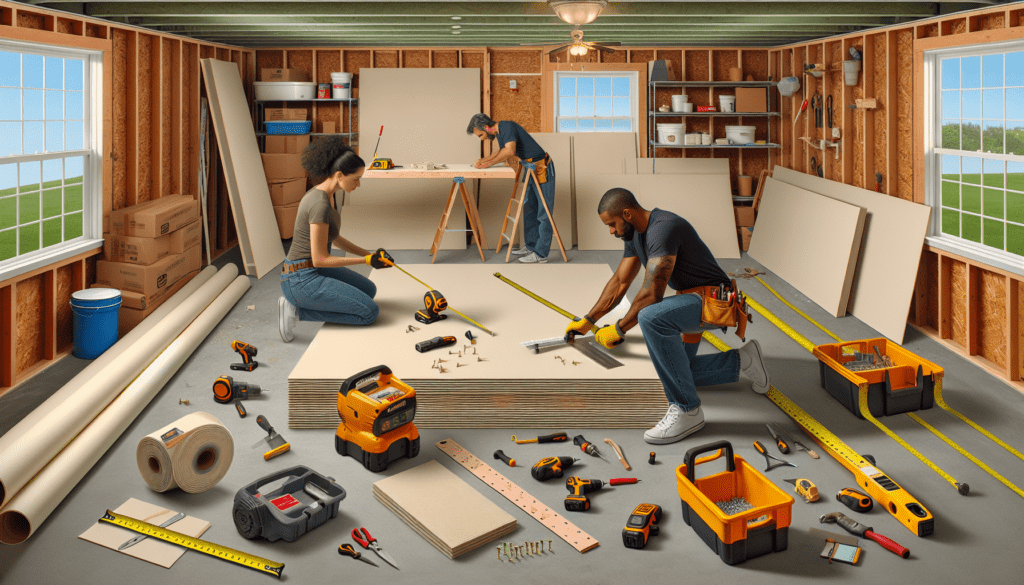
Having the right tools and materials is crucial for a successful drywall installation. Some essential tools include a utility knife, drywall saw, tape measure, screw gun, and hammer. Make sure to gather all the necessary tools before starting the installation process.
When it comes to choosing the right drywall thickness, it’s important to consider the structure of the garage and any specific requirements. Generally, 1/2-inch thick drywall is suitable for most residential applications. However, if extra insulation or soundproofing is desired, thicker drywall may be required.
The next decision to make is whether to use drywall screws or nails. Drywall screws are generally recommended as they provide a stronger and more secure hold. However, nails can be used for certain applications, such as attaching the drywall to wood studs.
In addition to screws or nails, there are other materials you’ll need for the installation process. These include joint compound, drywall tape, corner bead, sandpaper, and a drywall primer.
Removing Existing Coverings
Before installing new drywall, it may be necessary to remove existing coverings in the garage. This could include insulation, old paneling, or any other materials that are currently on the walls.
Start by removing any insulation if it is present. This will provide a clean surface for the installation of the drywall.
Next, remove any old paneling or coverings from the walls. Use a pry bar or a hammer to gently remove the panels, taking care not to damage the underlying structure.
If there are baseboards or trim in the garage, remove them as well. This will make it easier to install the drywall flush against the walls.
Installing the Drywall Sheets
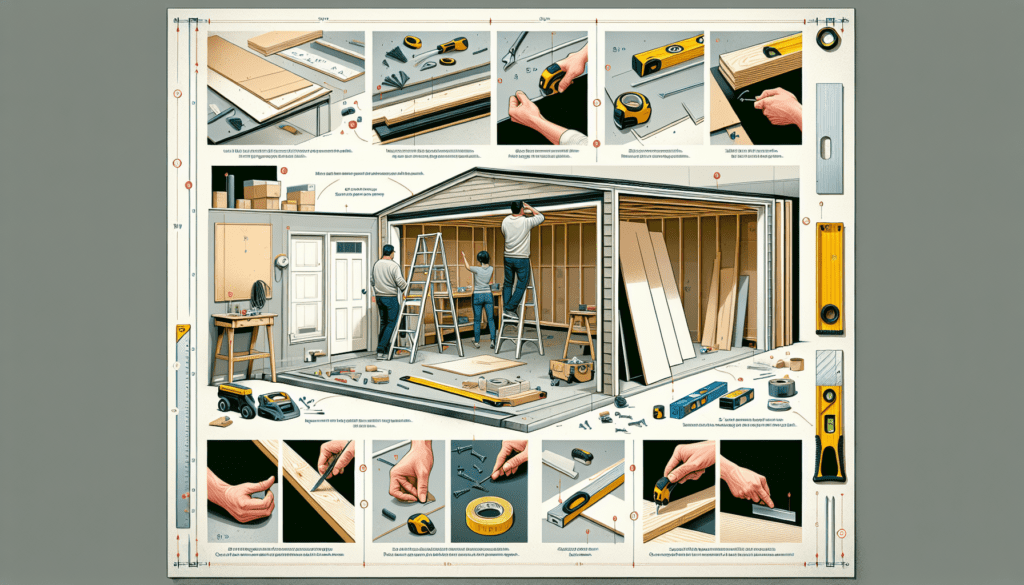
Once the garage is properly prepared and the old coverings are removed, it’s time to start installing the drywall sheets. Begin by starting from the ceiling and working your way down to the walls.
Before installing the drywall, make sure to cut it to fit the desired dimensions. Use a utility knife or drywall saw to make clean and precise cuts. Take accurate measurements and mark the drywall accordingly before making any cuts.
To secure the drywall panels, use drywall screws or nails. Start by attaching the drywall to the ceiling and then work your way down the walls. Space the screws or nails approximately 16 inches apart along the edges and every 12 inches in the field.
When dealing with outlets and corners, it’s important to measure and cut the drywall accordingly. Cut out spaces for outlets or switches using a drywall saw. For corners, use a corner bead to create a smooth and seamless transition.
Finishing the ceiling is an important step in the drywall installation process. Apply joint compound to the seams between the drywall panels to create a smooth surface. Use drywall tape to reinforce the joints and then apply another layer of joint compound. Repeat this process until the seams are smooth and flat.
Working on the Walls
Once the ceiling is complete, it’s time to move on to hanging drywall on the walls. Follow a similar process as with the ceiling, cutting the drywall to fit the dimensions of the walls and securing it with screws or nails.
When dealing with switches and outlets, cut out spaces for them using a drywall saw. Make sure to leave enough space around the switches and outlets for the cover plates to fit properly.
After the drywall is installed, it’s time to apply joint compound to the seams. Use a putty knife to spread a thin layer of joint compound over the seams, covering the drywall tape. Allow the compound to dry, and then sand it smooth using sandpaper.
Taping and mudding is the next step in creating a seamless surface. Apply another layer of joint compound over the taped seams and use a putty knife to smooth it out. Repeat this process, applying additional layers of compound if necessary, until the seams are invisible.
After the joint compound is dry, sand the drywall to create a smooth and even surface. Use a sanding block or sandpaper to feather the edges of the joint compound and remove any imperfections.
Finishing Touches
Once the drywall is installed and the seams are finished, it’s time to add the finishing touches. Depending on your preference, you can apply texture or finishing techniques to the drywall. This could include techniques such as orange peel, knockdown, or smooth finish.
After the texture or finish is applied, it’s important to prime the drywall before painting. Applying a primer will help the paint adhere to the surface and provide a more even and professional finish.
Once the primer is dry, it’s time to paint the drywall. Choose a color that complements the overall design of the converted garage and apply the paint using a roller or paintbrush.
Installing baseboards and trim is the final step in the drywall installation process. Measure and cut the baseboards and trim to fit the dimensions of the walls and attach them using nails or screws. This will provide a finished and polished look to the converted space.
Dealing with Imperfections
Even with careful installation and finishing, it’s possible to encounter imperfections in the drywall. The good news is that these can usually be easily addressed.
Visible screws or nails can be addressed by using a screwdriver or hammer to either tighten or sink them deeper into the drywall. Once the screw or nail is flush with the surface, apply a thin layer of joint compound over it and sand it smooth.
Dents and gouges can be repaired by using joint compound or spackling. Apply a small amount of compound or spackling to the damaged area and smooth it out with a putty knife. Allow it to dry, and then sand it smooth.
If there are any areas where the joint compound needs touching up, simply apply another thin layer of compound and smooth it out. Make sure to blend it with the surrounding area to create a seamless finish.
If necessary, you can also blend in the texture or finish to match the rest of the drywall. This can be done by applying additional texture or using techniques such as sponge painting or color washing.
Tips and Safety Precautions
Working with drywall can be physically demanding, so it’s important to prioritize safety. Use proper lifting techniques, bending at the knees and using your leg muscles to lift heavy drywall sheets. Avoid twisting your back or overexerting yourself.
Using safety equipment is also crucial. Wear gloves to protect your hands from sharp edges and to minimize contact with joint compound. Safety goggles or glasses should be worn to protect your eyes from dust and debris. Additionally, a dust mask or respirator should be worn to prevent breathing in particles during sanding.
Maintaining good ventilation in the workspace is important for both your health and the longevity of the drywall. Make sure to have adequate airflow by opening windows or using fans. This will help expedite the drying process and minimize any potential damage from moisture.
Conclusion
By following these steps and tips, you can successfully install drywall in a converted garage and transform it into a functional and inviting space. Remember to take accurate measurements, gather the necessary tools and materials, and properly prepare the garage before starting the installation process.
Pay attention to detail when hanging and finishing the drywall, and don’t be afraid to address any imperfections that may arise. Prioritize safety by using proper lifting techniques, wearing safety equipment, and maintaining good ventilation.
Enjoy the satisfaction of a job well done and take pride in your newly converted space. Whether you’re creating a home office, a gym, or a playroom, drywall installation is a crucial step in the transformation process. Happy renovating!


