Introduction
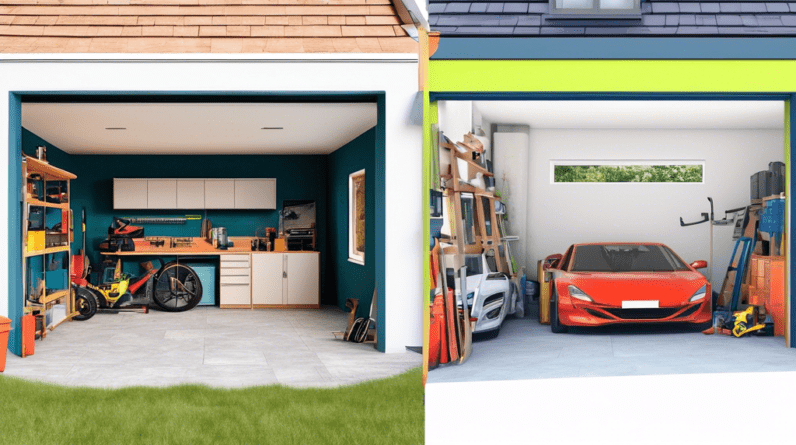
Are you tired of staring at a cluttered garage, wishing it were a
functional and stylish living space? A garage conversion can be a
fantastic way to add value to your home and create that extra room you’ve
always wanted. Contrary to popular belief, transforming your garage
doesn’t have to break the bank. With careful planning, creative
budgeting, and a sprinkle of DIY spirit, you can achieve an affordable
garage conversion that meets both your needs and your wallet’s limits.
1. Planning Your Dream Garage Conversion
Before you grab your sledgehammer, it’s crucial to have a well-defined
plan. This initial stage will serve as your roadmap, helping you stay
organized, avoid costly mistakes, and ultimately achieve your dream
garage conversion without overspending.
1.1 Defining Your Needs and Vision
Start by asking yourself some fundamental questions:
-
What’s the primary purpose of your conversion? A guest bedroom, home
office, playroom, or perhaps a home gym? - How many people will be using this new space regularly?
-
Do you need to include features like a bathroom, kitchenette, or
built-in storage?
Once you have clarity on your needs, let your creativity flow and
imagine your dream garage transformation. Browse magazines, explore
online platforms like Pinterest, and gather inspiration for layouts,
design styles, and color palettes that resonate with you.
1.2 Setting a Realistic Budget
Determining a realistic budget is the cornerstone of an affordable
garage conversion. It’s easy to get carried away with grand ideas, but
it’s essential to be honest about your financial limitations. Consider
all potential costs, including:
- Permits and inspections
- Professional labor (if needed)
- Materials (flooring, insulation, drywall, paint, fixtures)
- Electrical and plumbing work
- Windows and doors
- Heating and cooling
- Finishing touches (furniture, decor)
Researching local contractors and material prices will give you a clearer
picture of potential expenses. Be sure to factor in a contingency fund
for unexpected issues or changes that may arise during the conversion.
1.3 Assessing Your DIY Skills and Resources
The extent of your DIY involvement can significantly impact the overall
cost of your garage conversion. Assess your skills honestly. Are you
comfortable with tasks like demolition, framing, drywall installation, or
painting? If you have the skills and time, taking on some of the work
yourself can lead to substantial savings.
However, don’t hesitate to call in the professionals for specialized
tasks like electrical wiring, plumbing, or structural changes. Safety
and quality workmanship should always be top priorities.
2. Saving Money on Your Garage Conversion
Now that you have a solid plan and budget in place, let’s explore some
ingenious ways to make your garage conversion more affordable without
compromising on style or functionality.
2.1 Getting Creative with Materials
-
Shop Around and Compare: Don’t settle for the first
quote you receive. Explore different suppliers, compare prices, and
don’t be afraid to negotiate. -
Reclaimed and Recycled Materials: Embrace the
beauty of repurposing! Reclaimed wood, salvaged windows, or even
doors can add character and charm to your new space while saving you
money. -
Cost-Effective Alternatives: Consider budget-friendly
options for flooring, countertops, and fixtures. For instance, luxury
vinyl plank flooring can mimic the look of hardwood at a fraction of
the cost.
2.2 Optimizing Your Existing Structure
-
Work with What You Have: If possible, try to
incorporate existing walls, plumbing, and electrical outlets into
your new design. This will reduce the need for extensive modifications
and save you money. -
Maximize Natural Light: Amplify natural light by
installing larger windows, skylights, or even glass doors. This not
only reduces your reliance on artificial lighting but also creates an
airy and spacious ambiance.
2.3 Embracing the DIY Spirit
-
Tackle Smaller Projects: Even if you’re not a seasoned
DIYer, there are plenty of smaller tasks you can handle yourself,
such as painting, installing trim work, or assembling flat-pack
furniture. -
Learn New Skills: Numerous online resources and
tutorials can guide you through various DIY projects. Embrace the
learning process and empower yourself to take on more challenging
tasks. -
Enlist Help from Family and Friends: Don’t underestimate
the power of teamwork! If you have friends or family members with
construction or renovation experience, see if they’d be willing to
lend a helping hand.
3. Bringing Your Vision to Life
With your plan finalized and your budget-saving strategies in place,
it’s time to roll up your sleeves and start transforming your garage
into a functional and inviting living space.
3.1 Preparing Your Garage
-
Clean and Declutter: Before any work begins, thoroughly
clean and declutter your garage. Sort through your belongings, decide
what to keep, donate, or discard. -
Demolition (if needed): Depending on your design,
some demolition work might be necessary. This could involve removing
existing walls, cabinets, or fixtures. -
Inspect and Repair: Carefully inspect your garage’s
foundation, walls, and roof for any damage or necessary repairs.
Address these issues before proceeding to ensure a safe and stable
structure.
3.2 Installing Essential Systems
-
Insulation: Proper insulation is crucial for
regulating temperature and creating a comfortable living space.
Consider options like fiberglass batts, spray foam insulation, or rigid
foam boards. -
Electrical and Plumbing: If your conversion requires
additional outlets, lighting fixtures, or plumbing connections, it’s
best to hire licensed professionals to ensure safety and code
compliance. -
Drywall and Flooring: Installing drywall will give your
garage a polished look. Once the drywall is up, you can move on to
installing your chosen flooring.
3.3 Adding the Finishing Touches
-
Painting and Decor: Now comes the fun part! Choose
paint colors that complement your desired ambiance and incorporate
personal touches through decor, artwork, and furniture. -
Furniture and Storage: Select furniture pieces that
maximize space and functionality. Consider built-in storage solutions
to keep your new living area organized and clutter-free. -
Lighting and Accessories: Strategic lighting can
transform the mood of your space. Incorporate a mix of ambient, task,
and accent lighting to create a warm and inviting atmosphere.
4. Conclusion
Transforming your garage into a stylish and functional living space
doesn’t have to be an expensive endeavor. By following these
cost-effective tips, embracing your DIY spirit, and making thoughtful
choices, you can achieve an affordable garage conversion that exceeds
your expectations. Remember, the key is to plan wisely, prioritize your
needs, and unleash your creativity. With a little ingenuity and effort,
you can create a space that enhances your lifestyle and adds value to
your home for years to come.


